
When you're using natural light, you need to consider your surroundings. Think of light as a living thing that moves in different ways depending on where it is. We all know that we should wear white shirts in summer because white reflects the heat and black absorbs it, right? Well, heat comes from light and the same rule applies. White reflects, black absorbs. This will affect what's happening to your image! It's especially important with sidelight and backlight.
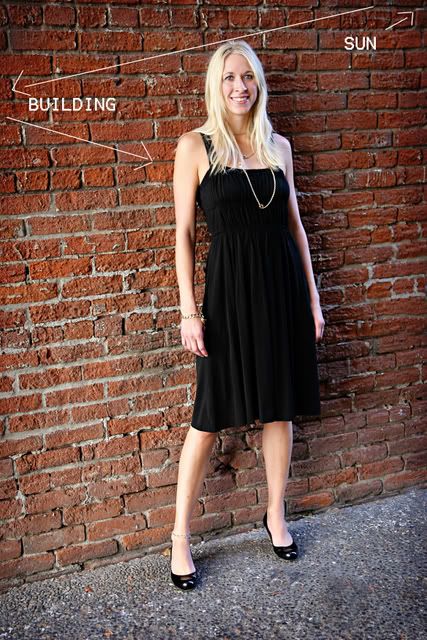
In this picture, you see the main light source is coming from the left. But that's not where the sun was. She was standing in an alley that appeared to be shaded. The sun was off to our right. There was a building directly behind her and directly behind me. Off to the left is the street and across the street is a tall building with a very reflective surface. The sun was hitting that surface and bouncing back to us, making the main light source come from the left instead of the right.
With sidelight, you want to expose for the brightest part of the image. If you expose for the dark side, then the brighter side will be totally blown (meaning very white, little detail...overexposed).
To do this with a point and shoot or on auto with a SLR, you need to point the camera at the bright part of the picture, then hold the button down halfway. This will lock the exposure. Do not release the button, move to wherever you're shooting from and push the button the rest of the way to shoot.
If you're shooting in manual on a SLR, you don't have to hold the button down. Point the camera at the brighter part of the image to set your exposure (line up the exposure bar by adjusting ISO, Shutter speed and f-stop) then back up, don't change the exposure and shoot. If you don't know how to shoot in manual, don't worry about it yet. I'll get there.
Now consider your location. I did these with a window to the right and a reflective surface to the left. I changed the reflective surface with each shot so you can see the difference.
First, this is with no reflective surface to the left. Only the wall, which is too far away to be useful at all in bouncing natural light.

Now a white surface to the left.

This is black.

Silver. On portraits this will give a slightly cool, but bright reflection.

and Gold. This is very reflective and gives a warm cast to the portrait.

A couple other sidelight examples. The first one is using a video light held up and to the right.
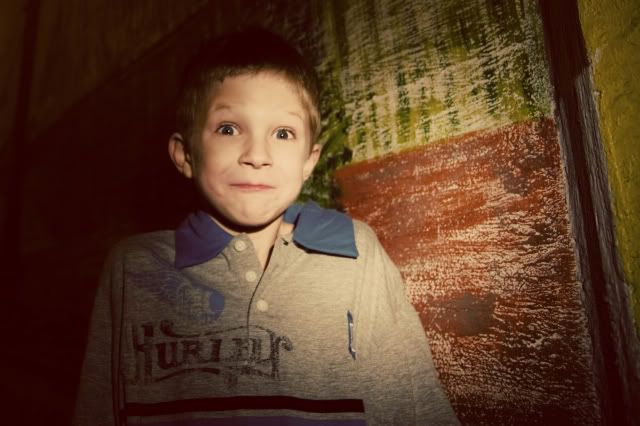
And this is a streetlight shining off on the left.

Go play! Have fun! And remember to post a link to your pictures!
No comments:
Post a Comment