Don't worry, we'll be going really slow for a while.
ISO denotes "film" speed. Remember when you bought film way back in the old days? They had numbers on them. 100, 200, 400, and 800 were the standards for the average picture taker. 25, 50, 1600 and 3200 were (are) also available if you knew where go.
Now stay with me, this is good to know. Film is coated in grains of silver. The silver absorbs the light entering the camera, which creates the image. (This has been replaced with a digital plate in digital cameras.) Film with a low ISO (25, 50, 100) has super fine grain and it is slower to absorb, so it needs more light. That's why those film boxes would say to only use ISO 100 in bright sunlight. The upside is the picture turns out very clear and crisp even when enlarged.
Most point and shoot cameras have a low ISO setting as the auto setting.
Film with a high ISO (800, 1600) has large, course grain and absorbs the light faster so it's great for low light situations like night time or times when you don't want to use a flash (like concerts or recitals). However, your image will have "grain" or "noise" (the digital word). It won't have that super clear, crisp look of a low ISO. You have to decide if the trade off is worth it.
Okay. Go get your manuals and see if you can change your ISO on your camera. If you can I want you to practice shooting with it low and high in different lighting situations.
If you have a "P" function on your camera (many have P, Av or A, Tv or S, and M as settings). So if you have a P, set your camera there. Then change your ISO, then shoot. The camera will set the other important settings (shutter speed and f/stop) for you as long as it's in P. But you will be able to change your ISO.
Remember low ISO needs lots of light and will be clear. High ISO requires less light and will be grainy.
A couple examples.
Low ISO...bright sunshine, nice and clear.

High ISO...the only source of light in this picture was the fireworks off in the distance. The grain isn't bad because the good digital SLR's tend to have very little noise/grain even in the higher ISO.

Here's another because I want you to see a more realistic grain. This was in the old days. It was taken with 3200 ISO film. No flash, on a football field at night.

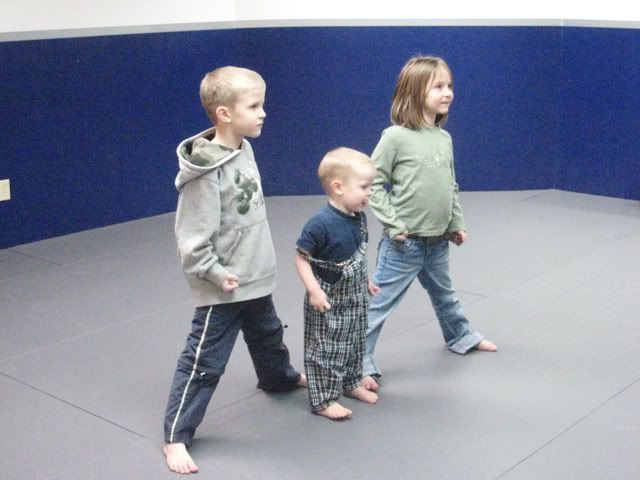
Now for what digital grain on a point and shoot is likely to look like. 1600, no flash in a karate studio.

Remember to ask questions! And add your link below!

5 comments:
i wish i had a better camera so i could really do this lesson instead of just kinda doing it with my ISO range of 50 to 200. Maybe moms camera will have more, i really like the pictures in the dark with no flash. i'm planning on combining lessons 2 and 3 and doing them tomorrow so stay tuned...!
How fun another lesson.
I'll be able to get to this lesson later this week. I thought I got some cool pictures on our trip this last week using the thirds and all that. I also shot behind a man made waterfall on a miniature golf course. In a day or two I'll put in on my blog so you can see it.:) BTW I found in the P mode on my camera I can get the grid of thirds. I was playing with my camera this week and reading my manual. Aren't you proud of me? LOL
Lot's lot's to learn.
Hi Misty,
For the feet picture I used my 16mm-35mm f/2.8 lens. I also used the (rented) 70-200mm f/2.8 throughout the day as well. I looked like Rambo with two cameras with big lenses slung across my shoulders! :)
This sounds so scarey to me! I'm glad you started the lessons again; though.
I played around but my pics aren't great. I was hoping to practice with fireworks but that was too hard with kids.
Post a Comment